Thursday 3 December 2015

Final Evaluation

During this unit I have thoroughly enjoyed myself, there's been highs and lows of the last couple of months and my strengths and patience have been tested but after all the hard work I have some really good images, a wig and moustache that I am proud of. I enjoyed all of the different topics but I mostly enjoyed the knotting, this was the technique I took the unit to learn and now I have and I know that one day I will be able to make bigger pieces such as wigs and hair pieces and not just facial hair pieces.
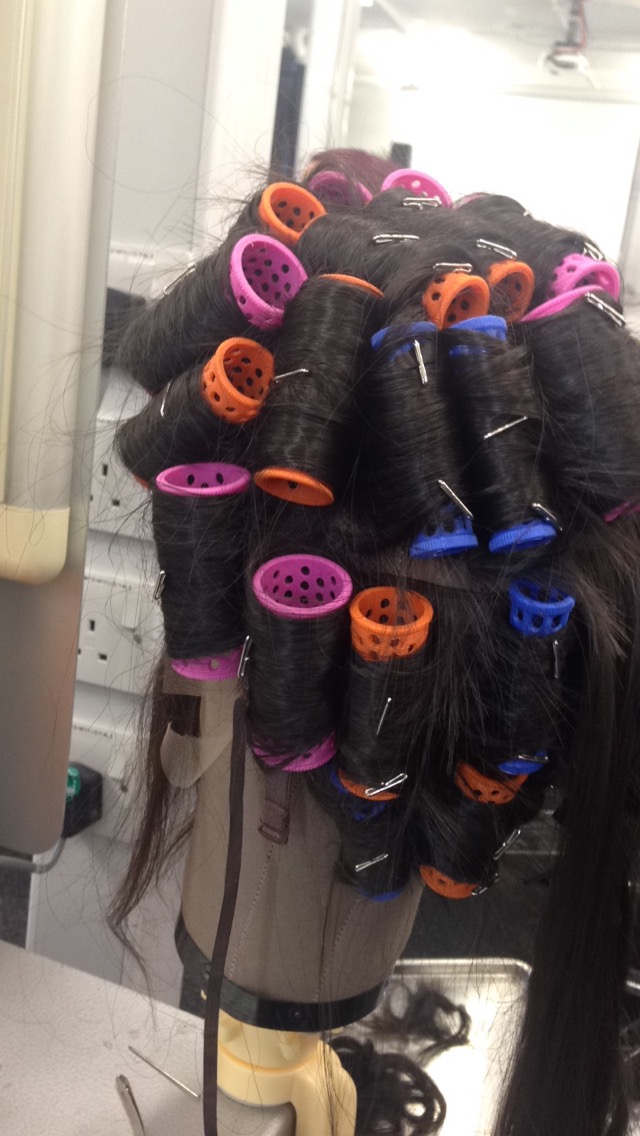
In my Historical assessment I chose to put rollers into the wig to create volume and curls. I needed to create a very high front/fringe to the wig which was done but using large rollers and placing them across the front of the wig. The curls I created with smaller rollers and had these rolled in sideways instead of rolled over because I wanted to create maximum curl and minimum volume. I then went on to steam the whole wig twice and then let it set and dry for just under a week. I was very happy with how setting and steaming went and how the final look turned out, everything from start to finish went very smoothly, especially the styling of it. If I could have changed something from the setting stage it would be to cut more of the length off because I had to clip a lot of it to create a faux bob to create my volume. Moving on to styling this is where I wanted to get it perfect and really give a true representation of the 80's. I used images of singer and actress Madonna from a film called 'Desperately seeking Susan' and her album covers from this decade. I think using these as inspiration pictures really helped me to style this correctly. When it came to the 
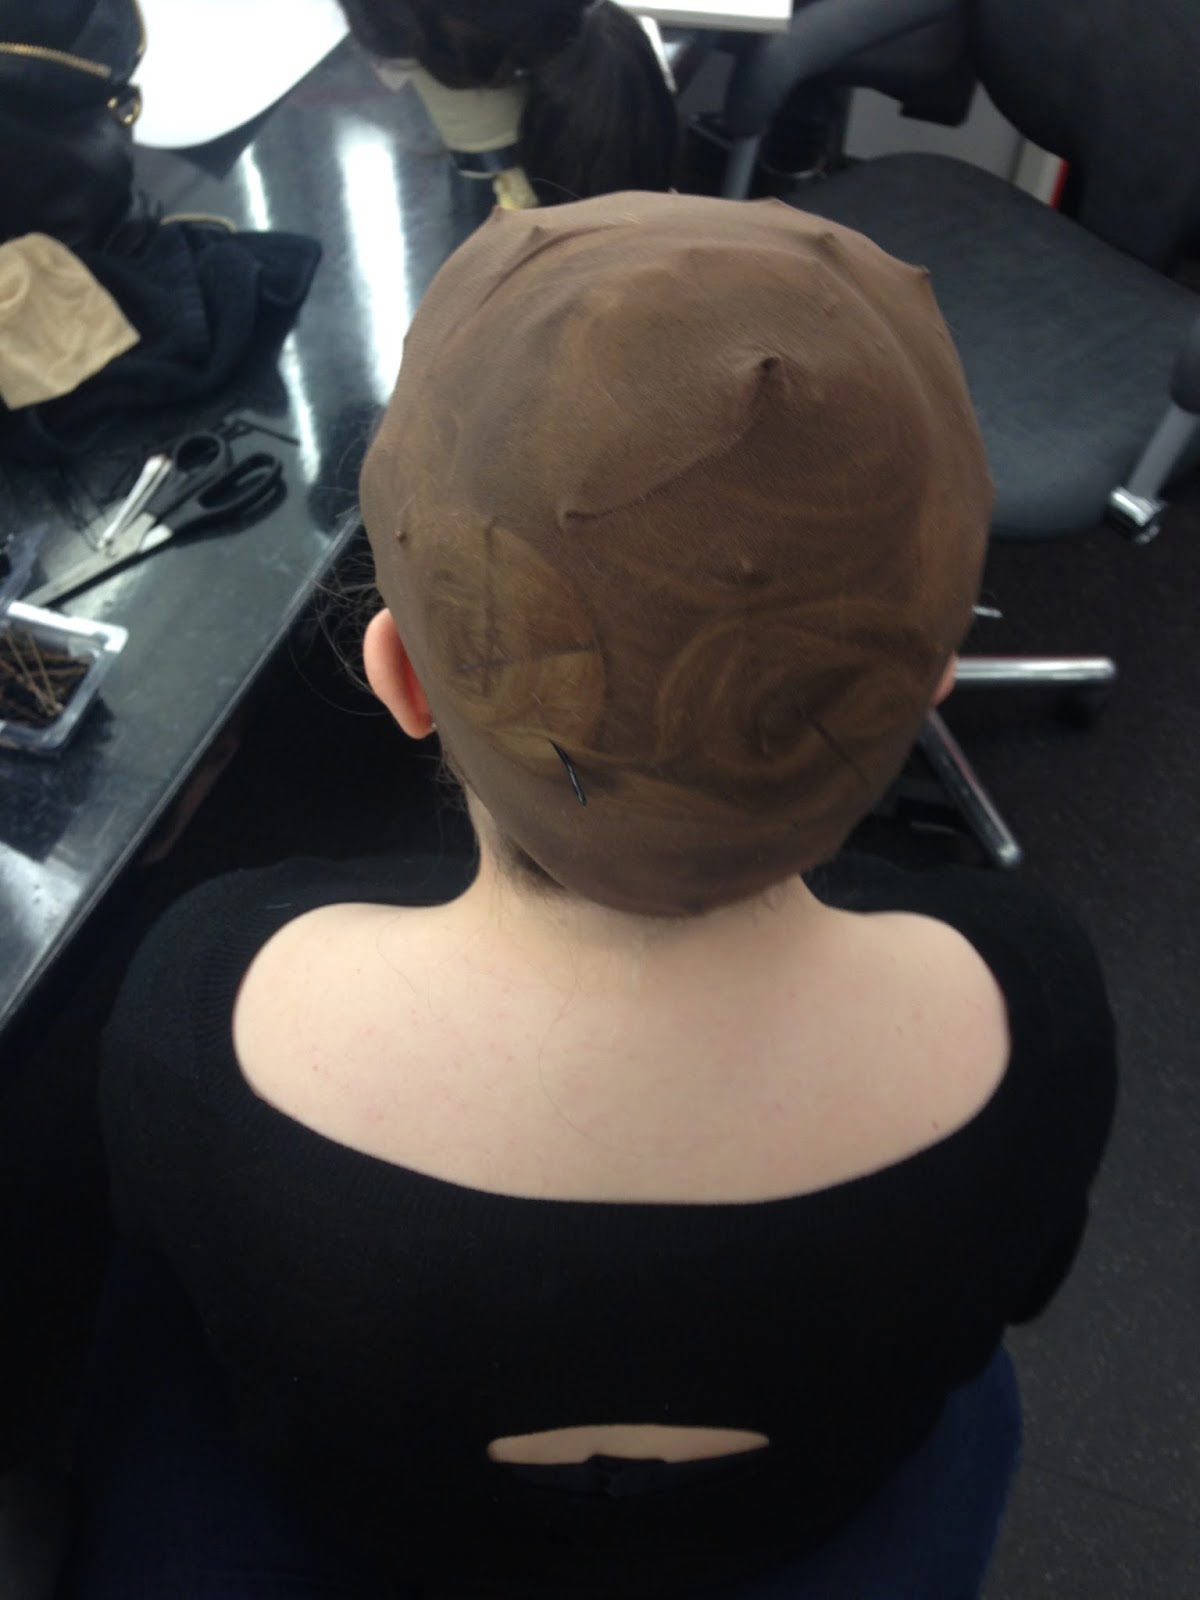
application stage this was the bit I was most worried about, I felt like I hadn't practised enough wrapping and pinning the hair but fortunately it went really well when on the day and I think that was the flattest I had managed to pin my models hair down before. Overall my images for my Historical part of this unit came out really well. I finished the look with 80's bright make up and now have images I am proud of.
For the contemporary part of the assessment I created a very similar look but I changed them to more modern techniques. I took ideas from an 80's afro look and frizzed the wig with pins and a straightener to create a frizzed look, I thought this would be a nice contrast against the historical curls used. To create modern look I used yellow crepe hair to create the bow this time as again I thought it was a nice contrast and something slightly more challenging then using a typical piece of material. If I could change one thing about the contemporary assessment I would have frizzed it differently and pinned it differently to me it didn't sit on the head just right because the way I had manipulated it but it could just be me nit picking and being a perfectionist.

Overall I am very happy with my chosen decade, I think the 1980's was an exciting and colourful era to pick and something fun to research into. Even though I think my contemporary wig came out well in my opinion it was the most challenging to come up an initial idea because obviously it is my own interpretation and I'm not just copying an image like the Historical one. Looking into designers such as Marc Jacobs helped me come up with my contemporary designs, which featured in his catwalk shows. If I was to do this again I would perhaps change to a different decade maybe something I found more challenging like the 1960's or 1940's. I've learnt from this unit I do think I may need to challenge myself further with hair and styling of hair. 

Informal assessment contemporary

This second assessment went just as well as the first if not better. The wig seemed to fit better and I really like how the look turned out. 

Tools used
  • Pin tail comb
  • Paddle brush
  • Grips
  • Pins
  • Wig
  • Wig cap


 These photos were taken candidly on my phone.


These are my contemporary final images for my 80's wig unit.


Dressing and styling my Contemporary look/ assessment prep

Once I had found all the clips and pins and had re blocked the wig, I went on to brush out the historical look. Thinking about time and if it would actually work and dry in time steaming wasn't really an option for me so I decided I would do frizzing with straighteners as my wig can take heat up to 160 degrees. Using hair pins and a straightener I used the frizzing technique to create my look. Thankfully the wig could take the heat and it came out very good. I used yellow crepe hair to create a bow, this went quite well and I hair sprayed it into place. I kept with the same position of the hair as my historical so they tied in nicely together.
I finished with a lot of hairspray.


Informal assessment historical

Overall my assessment went well, as it was informal I wasn't nervous I was actually excited. This assessment was to create an historically accurate look with an acrylic wig. With my wig I had brought one with a lace front so it looked the most natural. Overall from start to finish I was happy with my wig. I feel as though because I had done the styling side of this assessment the day before I was more prepared. All I had to was pin my models hair up, place a wig cap on and put the itself on. This meant I had time to create a make up to go with the wig and do a completed look.  

Tools used
  • Pin tail comb
  • Paddle Brush
  • Hairspray
  • Grips
  • Pins
  • Wig
  • Wig Cap


Here are some pictures taken on my phone. 


These are the final images of my historical 80's wig look. I am really happy with how it turned out and I believe it to be historically correct. 


Dressing and styling my historical wig/ assessment prep

I decided to save myself time in the assessment I would prep my week before so I could focus more on wrapping the hair and getting a final look together. 6 days later I went into the studios after setting the hair and started to style it. I used Madonna from the 80's as my inspiration. 

To prep the hair I began by un doing all the rollers to make sure they were dry. They had set beautifully and so far I was proud. I then moved onto the fringe and back combing that to get the correct height. I then went on to back combing the curls and pinning these up from underneath to create a faux bob to give the look more volume. After this I used a yellow piece of material and tucked some curls under it whilst creating a bow and creating a stringy 80's fringe without cutting the wig further. 


How to set an acrylic wig with rollers and steam/ assessment prep

In this lesson we had to prepare our wigs for our historical assessment. As they were acyclic wigs they are not allowed strong heat on them so we had to steam them instead. First of all I had to trim my wig as it was very long wig and I was sure the curl would not hold properly. So with help from Lottie and a quick crash course in hair cutting, I cut about 4 inches off the wig. As I had never really cut hair before I was very happy with how it turned out. After cutting the wig it was time to part it and It had to be quite a drastic parting, as I had a front lace wig this was helpful when changing the parting of the wig as it seem more natural. 

Once I had sorted the parting out it was then onto placing the rollers into place and this required the front to have big rollers to create height and volume, I sectioned the front and did this. 
Then moving onto the rest of the hair, it was rollers being put in side ways instead of rolled under this was because I didn't want volume but curl. I used different sizes of rollers to create the curls because then they would look messier and more uniform, I also changed direction of them as well so they didn't look as neat. 

After it was set it was then time to steam, this is the easy bit. All we had to do was make sure each curl was steamed and wet, I went over my entire wig with two pots of steam to make sure it was saturated properly and that the hair would curl in time before the assessment. 


During setting.


After steaming.